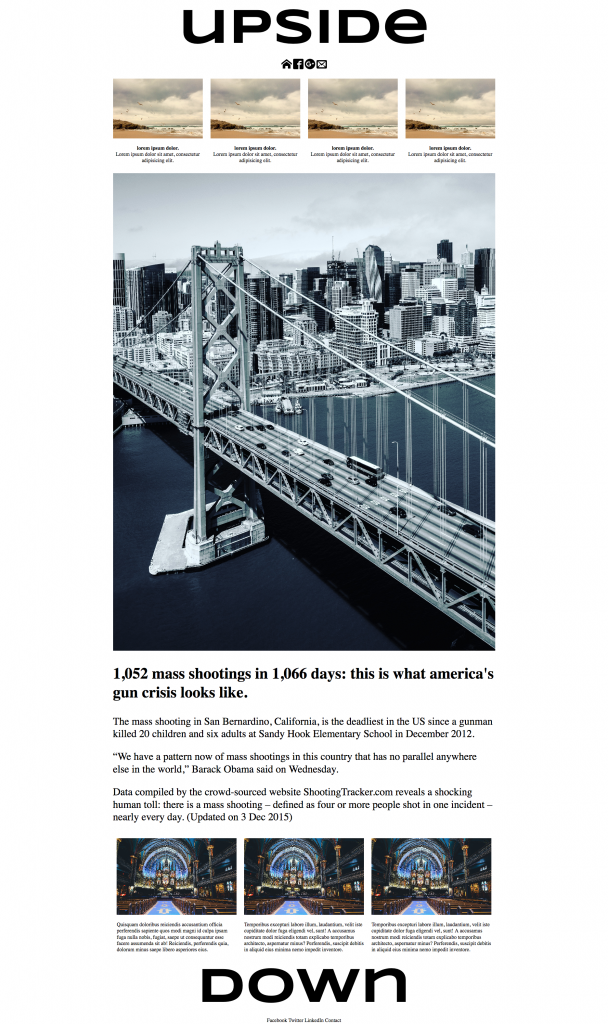
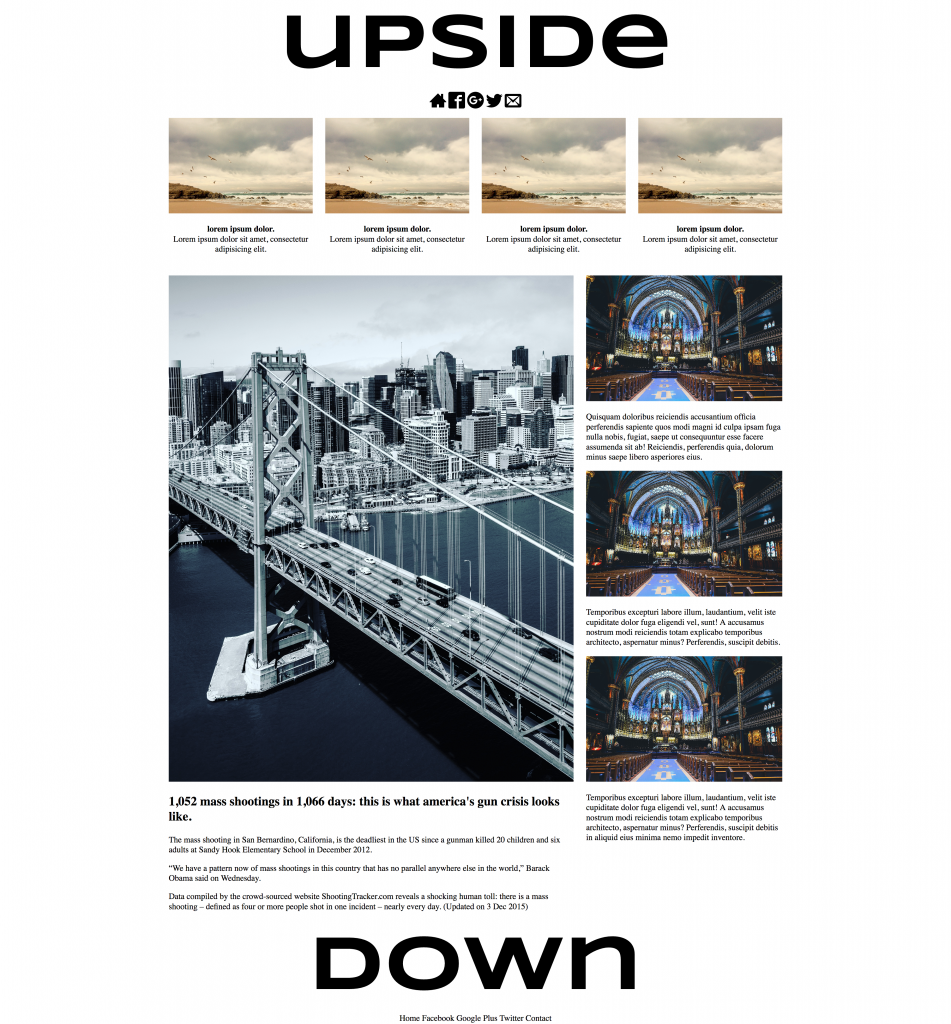
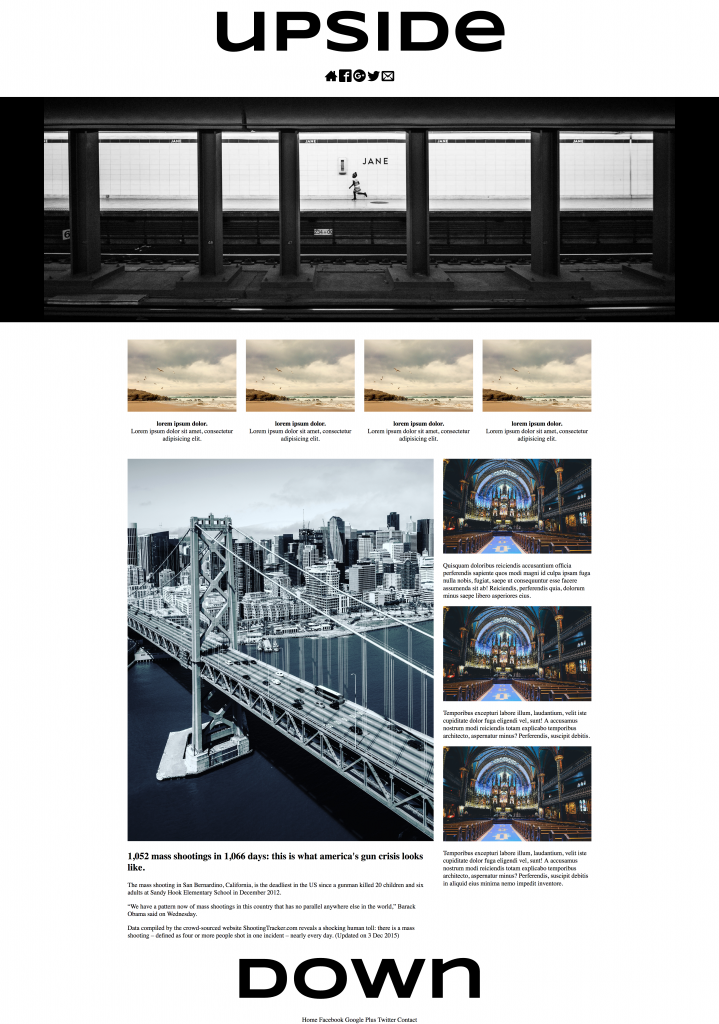
In this exercise you will make a Mobile-First layout.
First, please download the starter files.
Included with these files is a ScreenShots.pdf file. To view the screenshots adequately, open that file in Preview and go View > Zoom To Fit.
You will edit the index.html file (and make a stylesheet file) to create a responsive page.
Under 720px it will look like the layout in the PhoneSize screenshot.
The layout above 720px must conform to the layout in one of the Desktop layout screenshots:
- PassingMarks, or
- FullMarks, or
- BonusMarks.
In the supplied PDF file, these layouts are the first three pages, in order. The phone size is on the last page of the PDF.
Don’t worry about any middle (i.e. TABLET) queries.
I will test your results in Google Chrome. Do not worry about any other browser in this test.
There will be slight differences between the screenshots (one has one less icon), and the icons files will look slightly different from the icon fonts I used: don’t worry about that.
The CSS includes two files. Attach normalize.css to your html page. Ignore the fluid_grid file, if it’s included.
In other words, make the layout values yourself, rather than using the fluid_grid file.
DETAILS COMMON TO ALL THE LAYOUTS
- The site name (header h1 and footer h1) font is a Google font called SYNCOPATE, font-weight 700.
- All other text in the document is Georgia, with appropriate fallback fonts.
- Images will need to scale as the browser width changes. Images are supplied.
- Use ALT = “ “ (a blank space) with the images. That way, you’ll be able to use the validator without missing ALT content being flagged. On a production site, you would of course use real ALT values, but for a quick exercise it is not necessary.
- I’ve used “Greek Text” for most of the exercise, but mark the text up semantically. Obviously in the the first row, where there’s the four images, LOREM IPSUM DOLOR is a heading of some kind Similarly, the first sentence about the mass shootings is also a heading of some sort.
- I’ve given you some HTML, but you will have to add a lot more.
- Comments in the HTML file contain instructions about which image to use where, etc.
- In the phone layout, make sure that no text touches the edge of the screen, but that the images all do.
These images’ dimensions are bigger than ones I would use in a production site, but this is just a mockup, so that isn’t important here.
DETAILS OF THE PASSING MARKS SCREENSHOT
- There is no banner area.
- The three articles near the bottom (church image) do not go up beside the bridge / mass shooting article.
- The text in the bridge / mass shooting article is approximately twice the font-size of other text on the page.
- The whole content area is centered and never gets wider than 1200px.
DETAILS OF THE FULL MARKS SCREENSHOT
- There is no banner area.
- The three articles at the bottom of the document go beside the bridge / mass shooting article
- The type in the bridge / mass shooting article is smaller than it is in the PASSING MARKS screenshot
- The whole content area is centered and never gets wider than 1200px.
DETAILS OF THE BONUS MARKS SCREENSHOT
- This has all the features of the FULL MARKS screenshot, and adds a BANNER area and image.
- The banner area black background goes all the way across the browser window, regardless of window width.
- The image inside the banner is called toronto-subway-cropped.jpg. It is always centered horizontally. The image shrinks with its container, but never gets wider than 1600px.
- The areas outside the banner area never get wider than 1200px.
For the phone layout, please look in the supplied screenshot file.
MARKS BREAKDOWN: 40% for phone, 60% for desktop
Download a heavily commented solution file. This file explains how to build the layout using mobile first methodology—without using any grid framework.


